30x30 :: BOKEH
20. Do the cool camera trick where you get shapes of light by covering the lens with a cut out (bokeh?)
After doing a little research I can in fact confirm that this cool camera trick is called BOKEH. A more thorough description can be found here but, in a nutshell, bokeh means blur in Japanese.
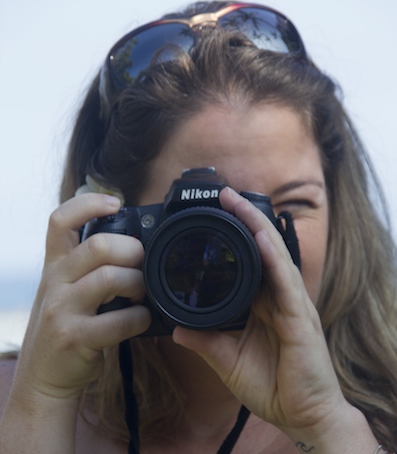
I can't exactly explain why but I've always wanted to take a photo where my lights were shaped like hearts. It just seems so magical. I spend a lot of time with my camera - a little magic was well deserved.
My nights have been pretty mellow in Houston - mostly because I don't have television or internet - and no things. I needed to get creative....I figured that Big Bertha was chomping at the bit to get some time out of the purse...what better time to bokeh the night away?!
I read a few online tutorials (like this one and this one) and decided to give it a whirl however; in typical Megan fashion I read the instructions and then did my own thing....which didn't exactly work out.
The premise: You cover your camera lens with a dark piece of paper with your desired shape cut out. Then you adjust your camera to aperture priority - or you become a magician with manual settings.
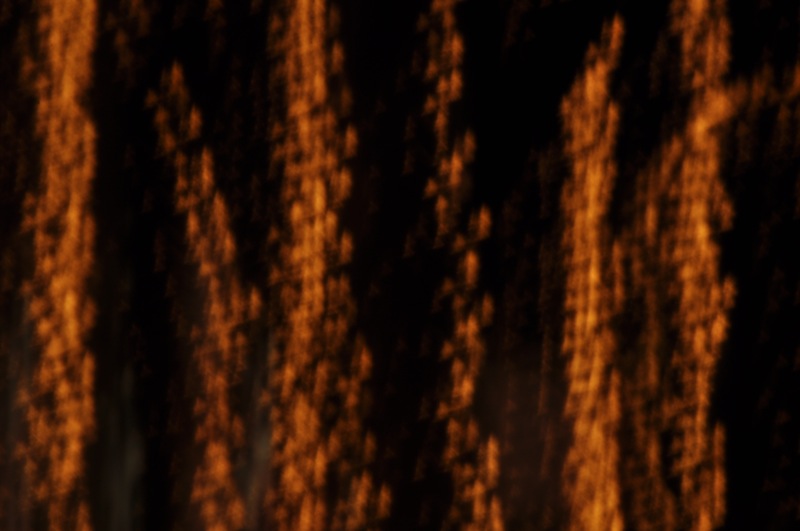
My first try consisted of a brown paper bag cut to fit over the lens with a hair elastic to hold it in place...this let in waaay too much light.
I tried a paper bag in several different ways - no luck. Then I decided to try a paper bag from my lanai...

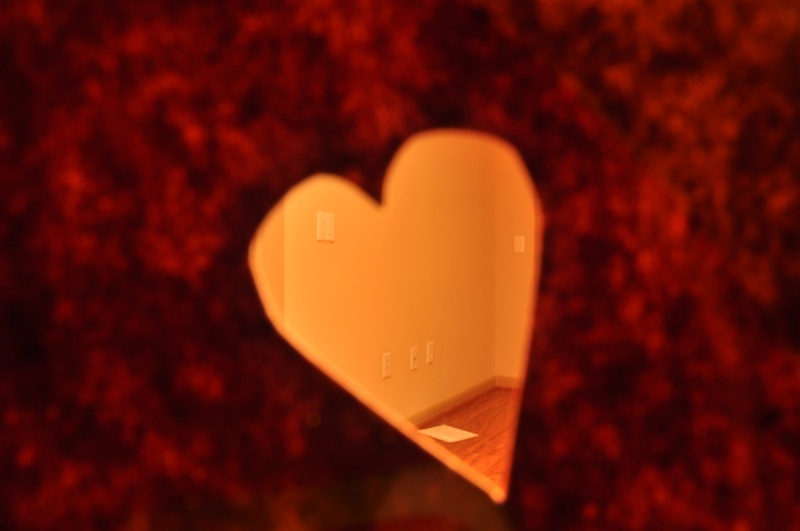
Because it was so much darker out there I could kind of get it to look like hearts.
I was running into several problems. I didn't have the 50mm lens that every tutorial recommended. I had my two kit lenses: 18-105 and 75-300. This meant that I needed to zoom in on something further away. I had decent results with my much larger lens on objects across the street (the above photo is using a brown paper bag zoomed in on streetlights). I also didn't have the black poster board that was recommended.
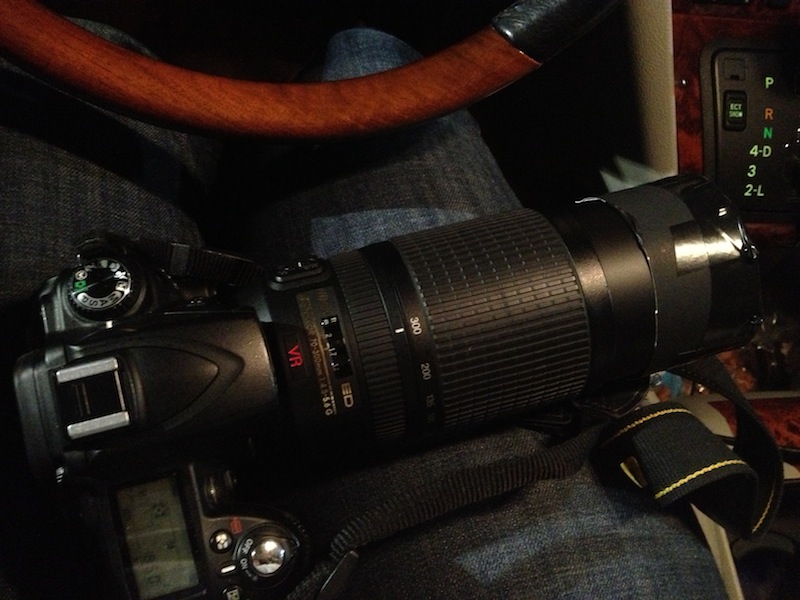
Road Trip! I zoomed off to target and bought a piece of poster board and some black electrical tape.
I sat in the driver seat and constructed a cap for my lens like the second tutorial recommends.
(Does it ever crack you up when you try to recreate a craft project and yours looks like a Kindergartener made it?!)
THEIRS:
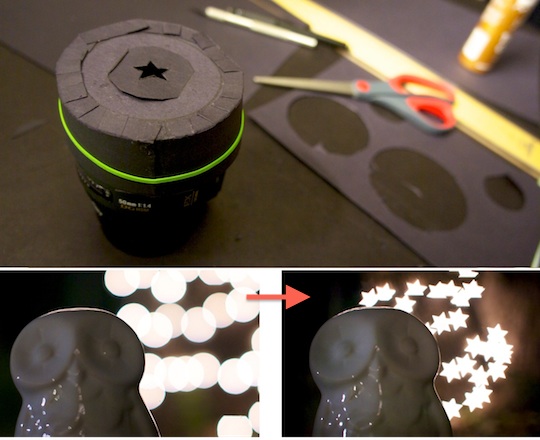
MINE:
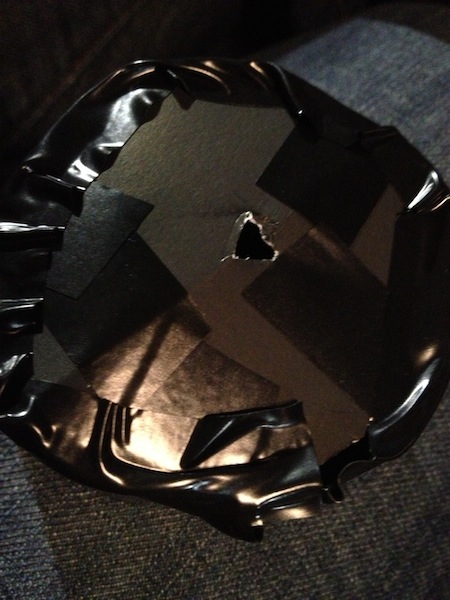
NAILED IT. (insert light hearted chuckle...)
(Also, I needed to make one small modification...The heart shape wasn't big enough so I cut a circle their and then cut out a larger heart that I taped over this one...)
Then, I looked like a total creeper and sat in my car in the Target parking lot with my telephoto lens. I pretty much had it down at this point...things were going well.
I zoomed over to my favorite christmas light display (sorry, this was pre-hawaii trip). (Canadiaunt - remember that tree that had large tendrils of lights with balls hanging from the tree?)
Next problem - I couldn't stay steady enough.
I came to my next realization. You HAVE to have a tripod. There really isn't an option.
I went home and decided to reconvene my mission on the following day.
The next evening - tripod in tow I went back to my tree.
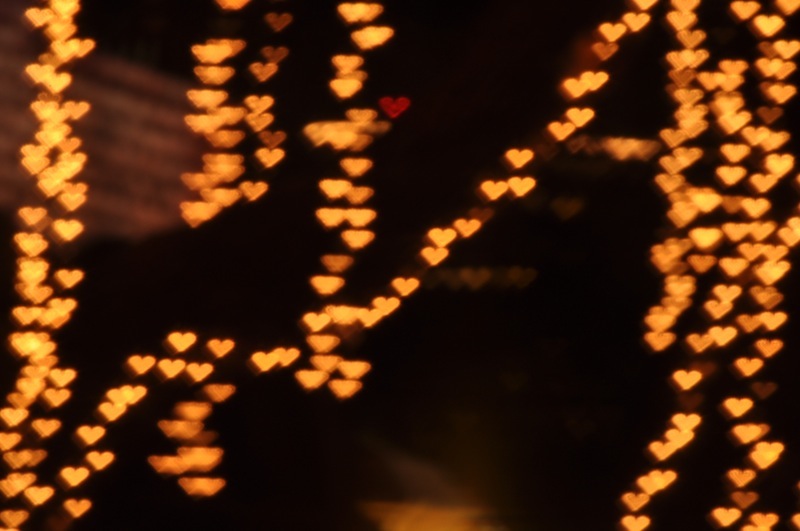
SUCCESS!!!!!
The tripod is majorly the answer.
Then, not only did I feel like a creeper but, I felt like I was going to get busted by the neighborhood watch. I had my tripod set up - with my telephoto lens - crouched behind my car - kneeling on the street - pointing my camera at peoples homes to capture their christmas lights. How exactly would you explain that?! 'Oh don't worry, I'm just trying to take heart shaped photos of christmas lights?!' - Riiiight.
Any which way - it worked. I used my big lens, I stayed further away from the lights and zoomed in and I used a tripod.
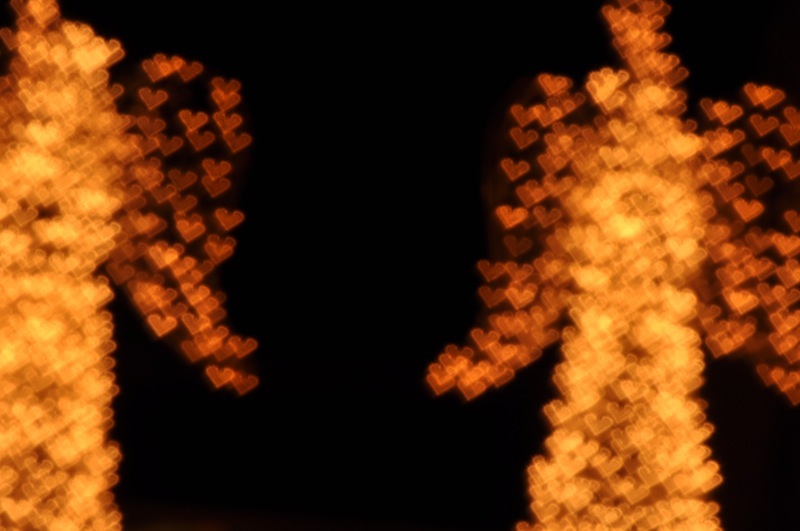
My favorite photo of the evening. Slightly out of focus angels made up of hearts.
Wanna see more? No Problemo:
[nggallery id=33]